
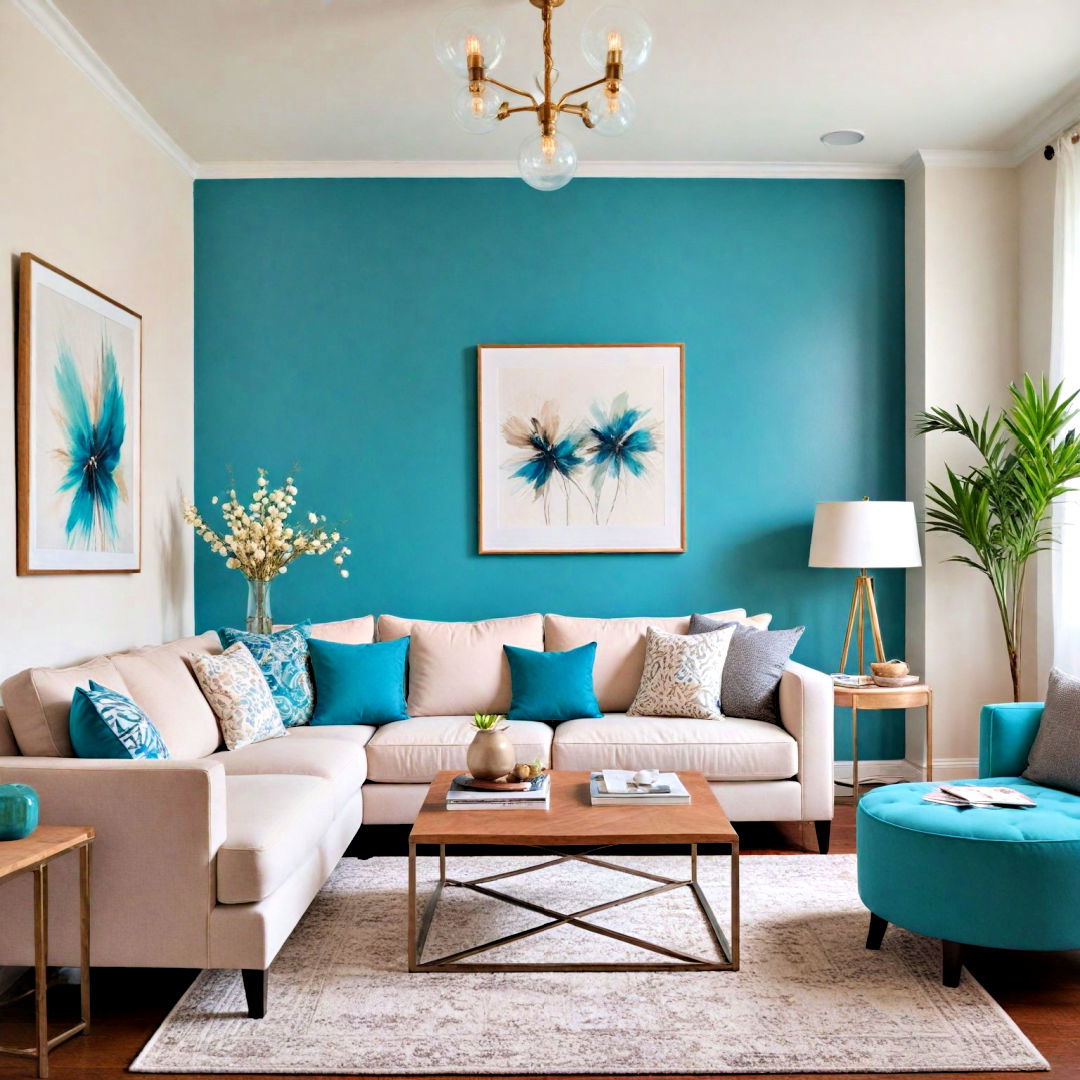
Okay, so I’ve been wanting to jazz up my living room for, like, forever. The old entertainment center was just…blah. Dark, bulky, and totally not my vibe. I’d been eyeing those gorgeous turquoise pieces online, but they were either crazy expensive or looked super cheap. So, I decided to take matters into my own hands and DIY it!
The Hunt Begins
First things first, I needed a base. I didn’t want to build something from scratch (ain’t nobody got time for that!), so I hit up all the local thrift stores and online marketplaces. I was looking for something solid wood, with good bones, but that was totally outdated and in need of some love.
After a few weeks of searching, I finally struck gold! I found this old, beat-up, dark brown entertainment center on Facebook Marketplace for 50 bucks. It was HUGE, which was perfect, and the wood was solid. It even had some cool details, like carved doors, that I knew would look amazing once painted.
Prep Time is Key (and Messy)
Before I could even think about slapping on some turquoise paint, I had to prep the beast. This was probably the least fun part, but so important. Here’s what I did:
- Cleaned it: I used some soapy water and a scrub brush to get all the years of grime and dust off. You wouldn’t believe how dirty it was!
- Removed hardware: I took off all the knobs, hinges, and anything else that wasn’t going to be painted. I kept them all in a Ziploc bag so I wouldn’t lose any tiny screws.
- Sanded it down: This was the worst part. I used a medium-grit sandpaper to rough up the surface so the paint would stick better. It took forever, and there was dust EVERYWHERE. Note to self: wear a mask next time!
- Filled in holes: Because it had some deep dings I used wood filler.
- Primed it: I used a good quality primer to give the paint a nice, even base to stick to. This also helped cover up that dark brown color. I used a brush for the detailed areas and a small roller for the larger, flat surfaces.
Turquoise Transformation!
Now for the fun part! I chose a gorgeous, bright turquoise chalk paint. I went with chalk paint because I wanted a matte finish and I’d heard it was easier to work with. I applied two coats, letting the first coat dry completely before adding the second. The difference was AMAZING. That ugly brown duckling was turning into a beautiful turquoise swan!
Adding Some Bling
Once the paint was dry, I added some new hardware. Because it was a really good deal.I went with some sleek, brushed gold knobs and pulls that really popped against the turquoise. It instantly made the whole piece look so much more modern and expensive.
The Finishing Touches
To protect the paint and give it a little extra sheen, I applied a clear wax topcoat. I just rubbed it on with a soft cloth and buffed it to a nice * that is it!
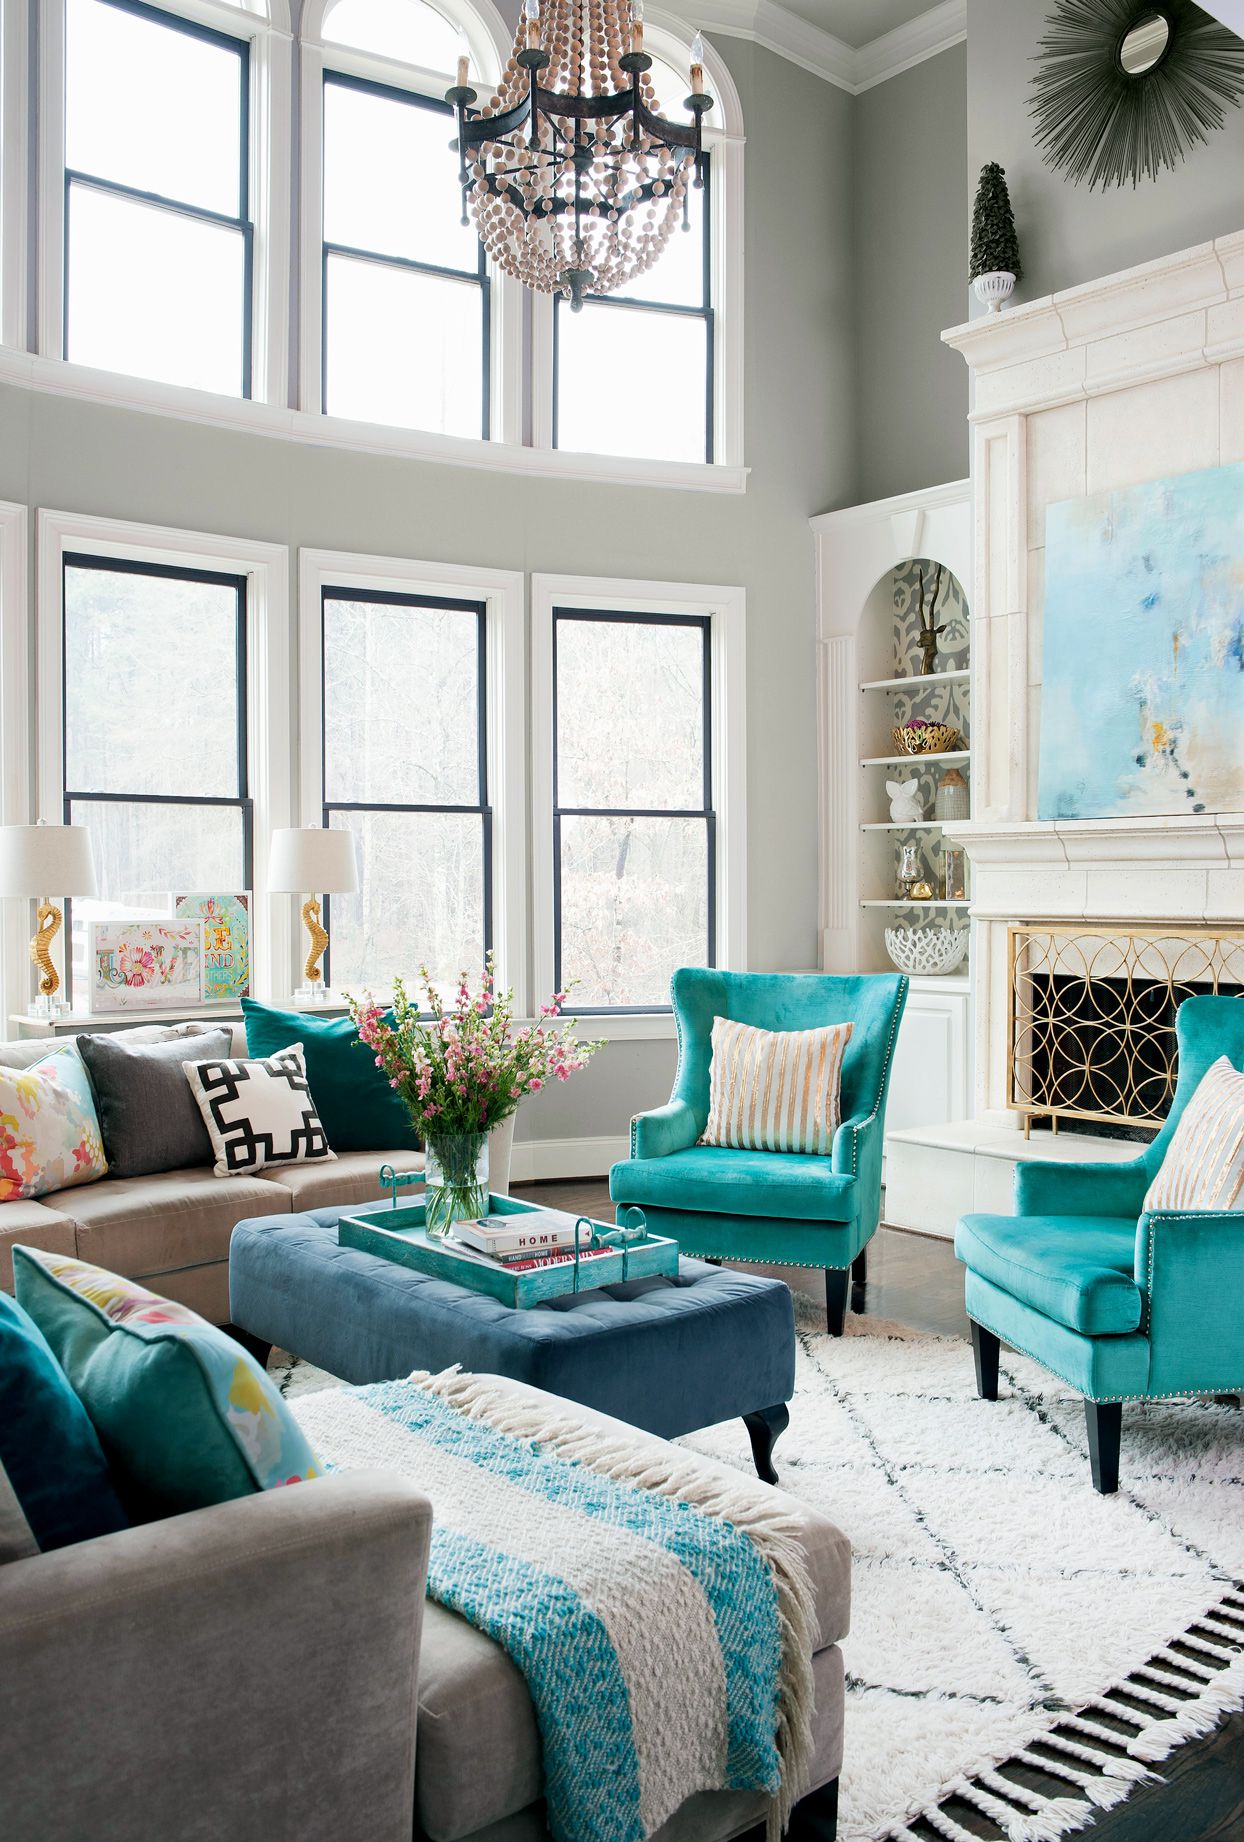
I’m seriously obsessed with how it turned out! It’s the perfect pop of color in my living room, and it totally transformed the whole space. Plus, I did it all myself, which feels pretty awesome. If you’re thinking about giving your furniture a makeover, I say go for it! It’s so rewarding, and you can create something truly unique and totally YOU.


