
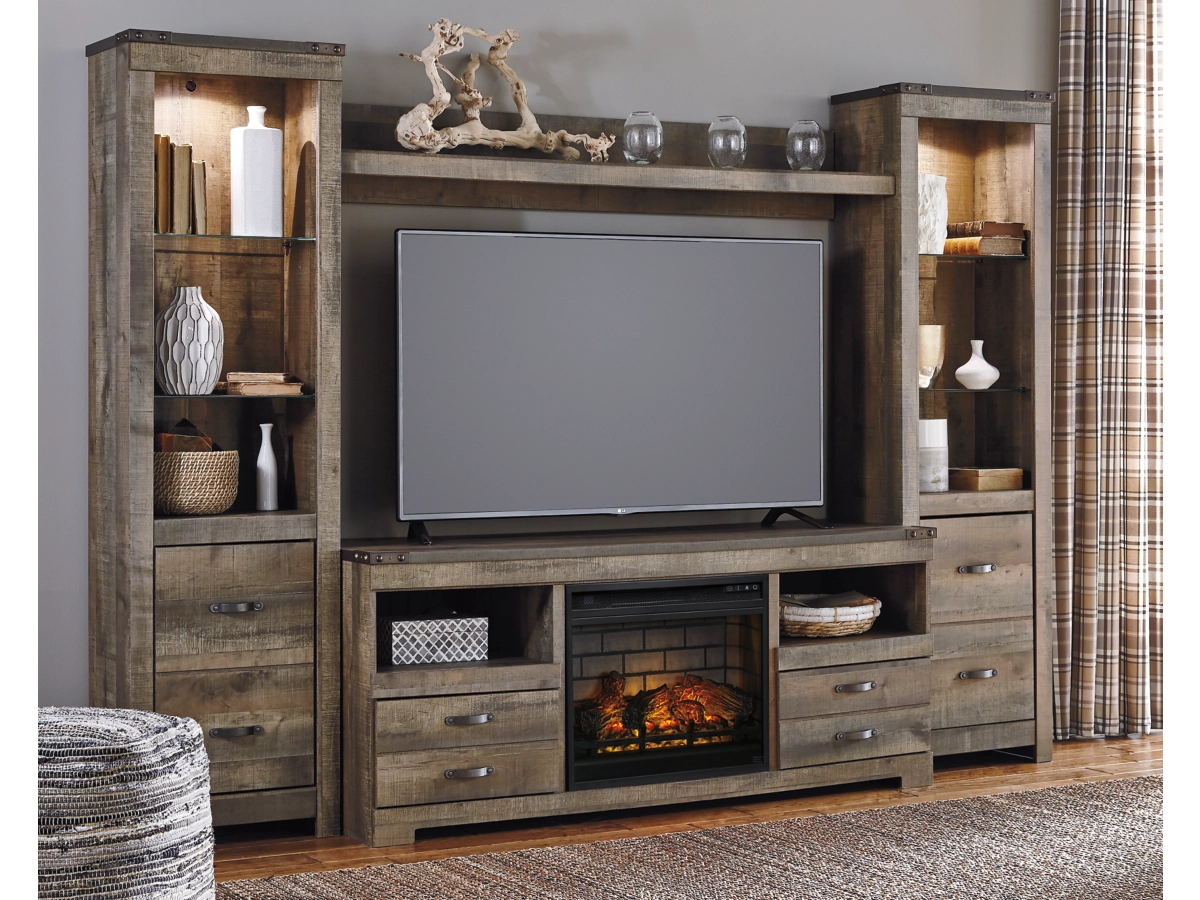
Okay, folks, let’s dive into my recent adventure: assembling the Trinell 4-piece entertainment center.
I gotta say, I was pretty stoked when this thing finally arrived. I’d been staring at that empty wall in my living room for weeks, dreaming of movie nights and organized game consoles. So, the delivery day felt like Christmas morning. I ripped into those boxes like a kid – cardboard and styrofoam flying everywhere. I may have gotten a little too excited.
Step 1: The Inventory Panic
First things first, I spread everything out on the floor. It looked like a furniture explosion. Seriously, a million pieces. I started to sweat a little, not gonna lie. I grabbed the instruction manual – my lifeline – and started matching the pieces to the diagrams.
- Lots of panels (big ones, small ones, medium ones… you name it).
- Bags of screws, bolts, dowels… enough to build a small robot, probably.
- Those little cam lock things – always a pain, but essential.
- And, of course, the dreaded Allen wrench. My hand was already cramping just thinking about it.
Step 2: Building the Base
The instructions thankfully made some sense, the key word here is that it made “some” sense.
I started with the base units – the two side cabinets. It was mostly straightforward: attach the sides to the bottom, pop in some dowels, screw it all together. The cam locks were a bit fiddly, as usual, but I managed to get them tightened without stripping anything (a small victory!).
I then attached those wooden legs that give it a good and classic look.
Step 3: The Bridge and Shelf Drama
Next up, the bridge – the piece that connects the two side cabinets and goes over the TV. This is where things got a little… interesting. I messed up. I attached one of the side panels backward. Didn’t realize it until I’d already screwed everything in. Facepalm moment, for sure.
So, I had to undo everything, flip the panel, and redo it. It added a good 30 minutes to the process, and my frustration level definitely spiked. But, lesson learned: double-check, triple-check, and maybe even quadruple-check those diagrams!
The shelves were pretty easy after that. Just slide them into place, secure them with some pegs, and done.
Step 4: The Top and Finishing Touches
Finally, it was time to put the top pieces on. These were the big, heavy panels, so I enlisted my partner to help me lift them into place. Teamwork makes the dream work, especially when you’re dealing with furniture that weighs a ton.
Once the top was on, it was just a matter of adding the doors, adjusting the hinges, and putting in the little shelf support pegs. I even used some of those sticky felt pads on the bottom of the legs to protect my floors.
The Result
And… it’s done! It took me a solid afternoon, a few curse words, and one near-disaster with a backward panel, but it’s finally assembled. And I have to say, it looks pretty darn good. It’s sturdy, it’s stylish, and it holds all my stuff. My living room is officially transformed. Now, time for that movie night!


