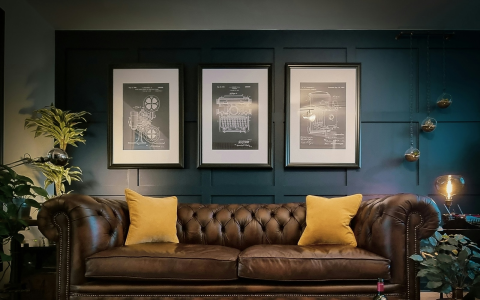
Okay, so I’ve been wanting to give my living room a bit of a retro vibe, and I figured what better way to do that than with an old-school entertainment center? You know, the kind that used to be the centerpiece of every living room back in the day. I’m talking wood, maybe some glass doors, and definitely some space for a record player. Let me walk you through how I made this happen.
Scouting for the Perfect Piece
First things first, I needed to find the right piece. I started hitting up all the usual spots – thrift stores, antique shops, even some garage sales. I was looking for something with good bones, you know? Something that maybe needed a little TLC but had that classic look I was after.
After a few weekends of searching, I finally struck gold at a local flea market. There it was, a bit dusty and forgotten in a corner, but I could see the potential. It was solid wood, a bit scratched up, but nothing a little work couldn’t fix. It even had some cool glass doors on the top, perfect for displaying some vintage knick-knacks.
The Restoration Process
Getting it home was a bit of a challenge. It’s heavier than it looks! But once I had it in my living room, the real fun began.
- Cleaning: I gave it a good scrub down to get rid of years of dust and grime. Just some warm water and mild soap did the trick.
- Sanding: There were a lot of scratches and dings, so I got out my trusty sander. I started with a coarser grit to smooth out the rough spots and then moved to a finer grit to get a nice, even finish.
- Staining: This was the exciting part. I chose a rich, dark stain that really brought out the grain of the wood. It took a couple of coats, but man, did it make a difference!
- Sealing: To protect all that hard work, I applied a couple of coats of polyurethane. This gave it a nice, durable finish and a bit of a sheen.
- Hardware: The old handles were pretty worn out, so I found some vintage-style replacements online. It’s amazing how much new hardware can change the look of a piece.
Setting the Stage
With the entertainment center restored to its former glory, it was time to set it up. I positioned it against the main wall in my living room, making it the focal point of the space. Then came the fun part – filling it up!
- I dusted off my old record player and gave it a place of honor on one of the shelves.
- My collection of vintage records finally had a proper home, neatly organized in the bottom cabinet.
- I found some cool retro-looking speakers to complete the audio setup.
- The glass-door section became a mini-museum of sorts, with some old cameras, a vintage radio, and a few other odds and ends.
The Final Result
Honestly, it turned out even better than I imagined. The entertainment center really ties the whole room together and gives it that vintage vibe I was going for. It’s not just a piece of furniture; it’s a conversation starter. Everyone who comes over comments on it and wants to know the story behind it.
This project was a lot of work, but it was totally worth it. There’s something really satisfying about taking an old, forgotten piece of furniture and giving it a new lease on life. Plus, I now have a unique and stylish entertainment center that’s a perfect reflection of my personality. If you’re thinking about adding a touch of vintage to your home, I say go for it! Just be prepared to get your hands dirty and have some fun along the way.


