
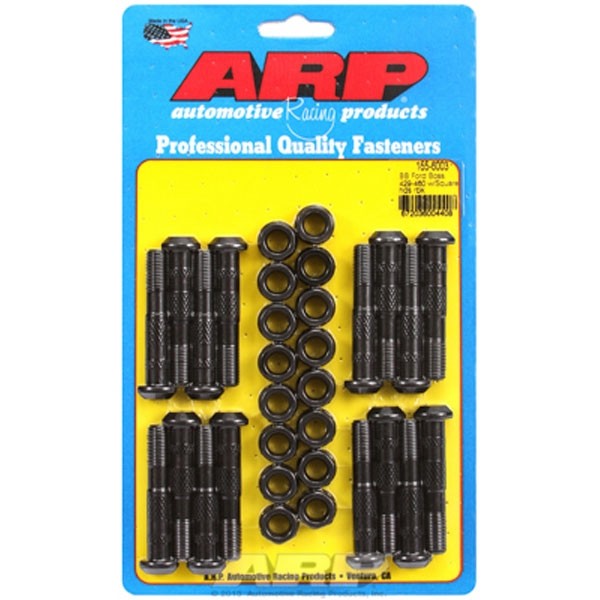
Okay, so, today, I am working on my Ford big block 460 engine. This is a beast of an engine. Today’s job is to get into the connecting rod bolts. Now, these aren’t just any bolts, I went with the ARP 2000 ones. They are supposed to be super strong. The thing about these bolts is they are “football” shaped, which is kinda weird, but that’s supposed to make them fit better.
First thing I did was to get the engine on the stand. I’m not gonna lie, it’s heavy. You gotta be careful moving these things around. I’ve seen guys drop engines, and it’s not pretty. I got the engine secured, all good to go. I started taking things apart. This isn’t a quick process. I removed the oil pan, which was a bit of a mess because there was still some oil in there. Next, I had to get to the connecting rods. Each one is held to the crankshaft with these caps, and that’s where the ARP bolts come into play.
Now, I’ve done this before, but it’s always good to double-check the manual. I didn’t want to mess anything up. The old bolts came out pretty easily, to be honest. I’ve seen them get stuck, but these were not too bad. It is very important to clean everything. I used a bunch of brake cleaner and made sure there was no dirt or grime. I mean, you gotta, this is the heart of the engine we’re talking about.
Installing the new ARP bolts was kinda tricky. I got the ARP lube and put it on the threads and under the head of the bolts. This is super important, according to the instructions, to get the right torque. I carefully put the caps back on and started tightening the bolts. I did this in stages, like they recommend. First a bit, then more, and finally to the full torque. I used my trusty torque wrench for this, no guessing games. You don’t want to over-tighten them either. There’s a specific number you need to hit, and it’s in the ARP instructions. They also say you need to do this torqueing process multiple times to make sure the bolts are seated right. I went over it like three times, just to be safe.
- Engine Prep:
- Mounted the Ford big block 460 engine on the stand.
- Removed the oil pan, be ready for some mess.
- Bolt Removal:
- Got to the connecting rods and caps.
- Removed the old bolts, they came out without much fuss.
- Cleaning:
- Cleaned everything with brake cleaner.
- Made sure there was no dirt or grime left.
- Installation:
- Applied ARP lube to the new bolts.
- Carefully put the caps back on.
- Tightened the ARP bolts in stages using a torque wrench.
- Final Steps:
- Torqued the bolts multiple times as per instructions.
- Double-checked everything to make sure it was secure.
After I finished with the bolts, I started putting everything back together. I put the oil pan back on, made sure all the gaskets were good, you know, the usual stuff. By the end of the day, the engine was back in one piece, and I felt pretty good about the work. Those ARP bolts are in there solid. I’m pretty sure they are not going anywhere.
So, that was my day with the Ford 460 and those football-shaped ARP connecting rod bolts. It’s not the easiest job, but with some patience and the right tools, it’s totally doable. I always get a good feeling after working on the engine, it’s like, you are keeping a part of history alive or something. This engine’s got a lot more miles to go, and with these new bolts, I’m confident it’s gonna run strong.
Anyways, that’s it for this project. I’ll be back with more engine stuff soon. Keep wrenching, folks!


