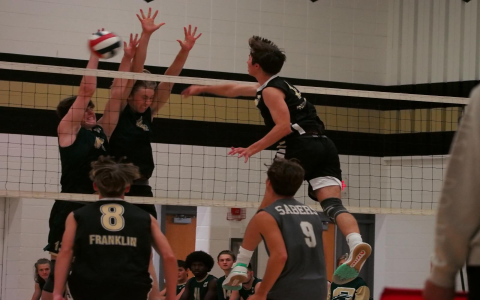
Okay, so I’ve been wanting to up my volleyball game analysis, and that means getting some decent recordings of matches. I tried just using my phone, but honestly, it was a shaky, zoomed-out mess. So I started looking into getting a dedicated camera for recording volleyball games. Here’s how it went down:
The Search Begins
First, I scoured the internet, reading reviews and watching comparison videos. I quickly realized I needed something with good zoom, because those courts are pretty big, and decent image stabilization, cause I move around a lot when getting excited. Battery life was another biggie – I didn’t want the camera dying mid-set!
Narrowing it Down
I considered a few different types:
- Camcorders: Seemed like the obvious choice, with their long zoom ranges and focus on video.
- DSLRs/Mirrorless: These offered better image quality, but the good lenses with enough zoom were pricey.
- Action Cams: Super portable, but I was worried about the wide-angle distortion and zoom limitations.
Making a Choice (and a Few Mistakes)
I initially went with a mid-range camcorder. It had a good zoom and was supposed to have decent image stabilization. The first game I recorded… well, it was better than my phone, but still a bit shaky. Plus, the autofocus kept hunting, which was super annoying.
I ended up returning that one. It just wasn’t cutting it. Then, I took this advice from someone in my volleyball club about using a mirrorless camera with at least 60x zoom.
Second Try’s the Charm (Hopefully!)
I bit the bullet and invested in a decent mirrorless camera with a good telephoto lens, one I found on offer and grabbed straight away. It was definitely more expensive, but I figured it was worth it if I wanted quality footage. I also picked up a sturdy tripod – no more handheld shaky-cam!
Setting Up and Testing
Before the next big game, I spent some time practicing. I played with the settings, figuring out the best focus modes and exposure for the indoor lighting. I also experimented with different tripod heights and positions to get the best view of the court.

Game Day!
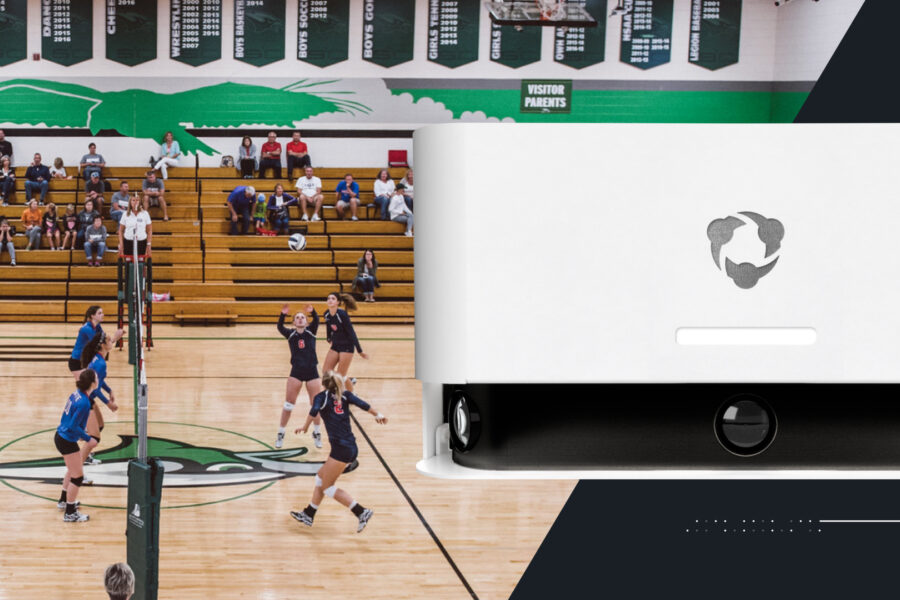
Finally, game day arrived! I set up my camera on the tripod, made sure the battery was fully charged (and I had a spare!), and hit record. I was a bit nervous, but the practice paid off. The footage was SO much better – stable, clear, and I could actually see the plays developing! I could even zoom in on specific players to analyze their technique.
Post-Game Review
After the game, I uploaded the footage to my computer. I was stoked! I could easily review the game, pick out key moments, and even share clips with my teammates. It’s a total game-changer for how we analyze our performance and prepare for future matches. It’s still a learning curve, but at last it’s easy to go back and see where things went right and wrong.
So, yeah, getting a good camera setup for recording volleyball games took some trial and error, and a bit of an investment, but it was totally worth it. Now I have awesome footage to help improve my game, and that’s what it is all about!


