Man, I’ve been meaning to upgrade my living room for a while now. The old TV stand was just not cutting it anymore, you know? It was time for a proper entertainment wall unit. So, I started this little project, and let me tell you, it was a journey.
Research and Planning
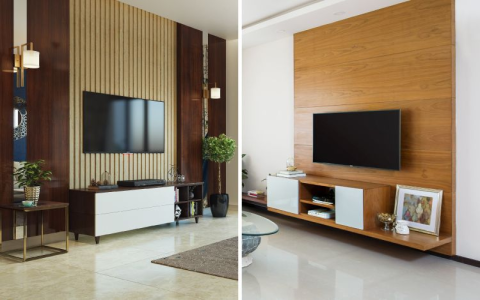
First things first, I spent hours browsing online, trying to figure out what style I liked. There are so many options out there! Scandinavian, mid-century, modern, rustic… you name it. I also had to consider the size of my living room. I didn’t want anything too bulky that would make the room feel cramped, but it also needed to be big enough to hold my TV and other stuff. And then, the color scheme was a major point as well. I am a big fan of bright and spacious, so finally settled on light gray as the color.
Finding the Perfect Unit
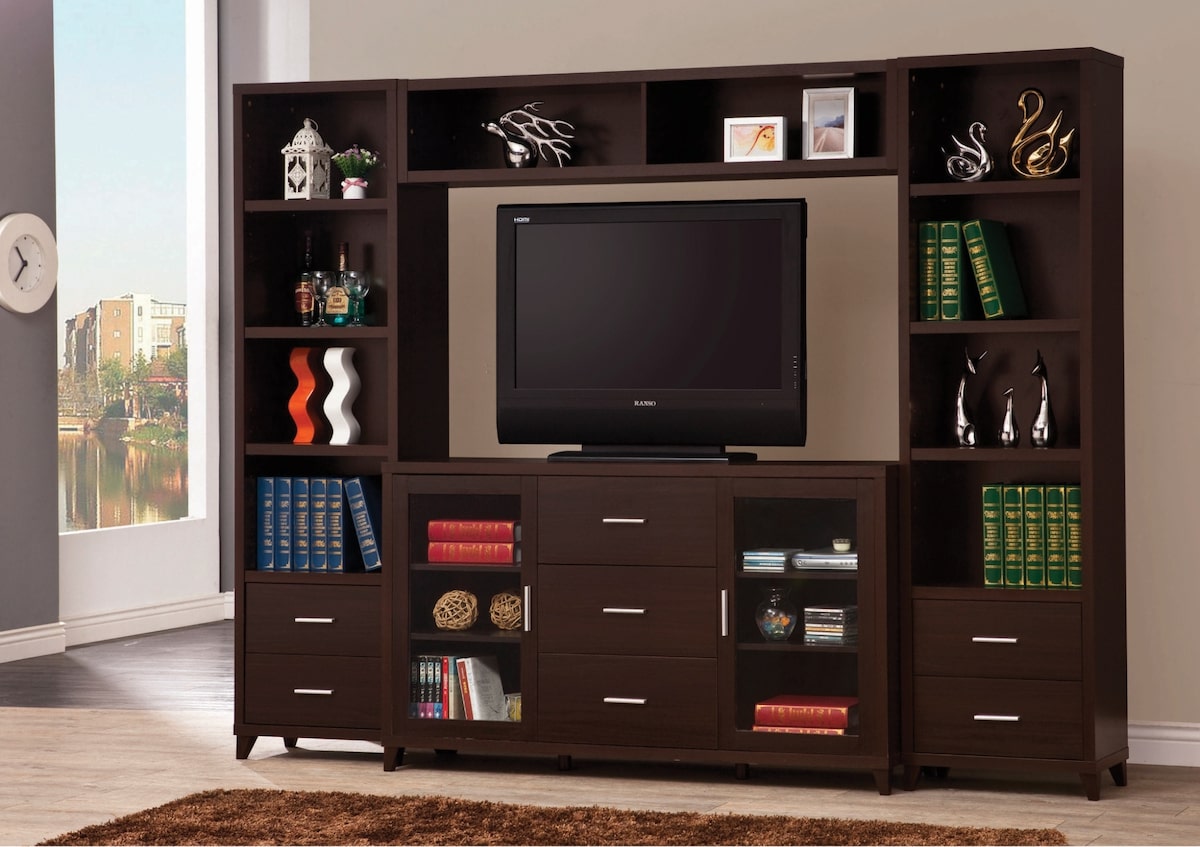
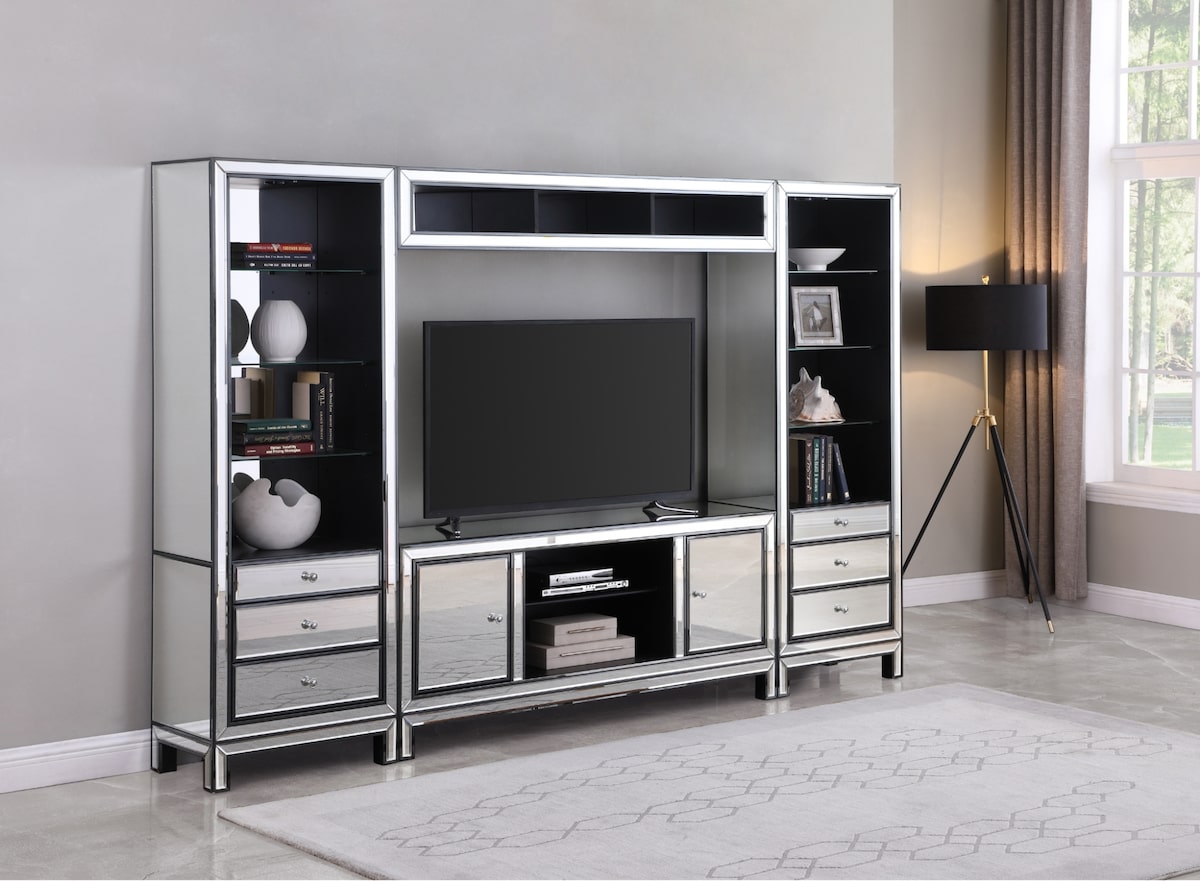
After narrowing down my choices, I started checking out local stores and online shops. I compared prices, materials, and delivery options. It was a bit overwhelming, to be honest. There were units made of solid wood, engineered wood, metal, glass… so many materials to choose from! Finally, I found a unit that I really liked. It was a mix of open shelves and closed cabinets, which was perfect for displaying some items and hiding others. I double-checked the dimensions to make sure it would fit my TV and the wall space I had in mind.
Ordering and Delivery
Once I made up my mind, I placed the order online. I was a bit nervous about buying such a big piece of furniture without seeing it in person, but the reviews were good, and the return policy seemed fair. The delivery was scheduled for a week later. Waiting for it to arrive felt like forever! When the delivery day finally came, I made sure to clear a path for the delivery guys. They brought the unit in, and thankfully, it arrived in perfect condition.
Assembly Time
Now came the fun part – assembly. I’m not the handiest person, but I’ve put together a few pieces of furniture before, so I figured I could handle it. The unit came in several boxes with a million pieces and a thick instruction manual. I laid everything out, organized the screws and bolts, and got to work. It took me an entire afternoon, and there were a few moments of frustration, but I managed to put it all together. It actually felt quite rewarding to see it taking shape.
Setting Up
With the unit assembled, it was time to set everything up. I carefully placed my TV in the center, connected all the cables, and arranged my gaming console, sound system, and a few decorative items on the shelves. I took my time to make sure everything looked neat and organized. Cable management was a bit of a pain, but I used some zip ties and cable clips to keep things tidy.
The Final Result
Finally, after all that work, my new entertainment wall unit was ready! It completely transformed the look of my living room. It’s so much more stylish and functional than my old TV stand. I’m really happy with how it turned out. Now I can enjoy my movie nights and gaming sessions in style. It’s amazing how a single piece of furniture can make such a big difference.
This whole experience taught me a few things. First, doing some research and planning ahead is crucial. Second, don’t be afraid to tackle a DIY project, even if it seems daunting. And third, a well-chosen entertainment wall unit can really elevate your living space. It was definitely worth the effort!


