Okay, here is a blog post based on the title “white and black entertainment unit,” written in the style and tone you specified, with the proper formatting:

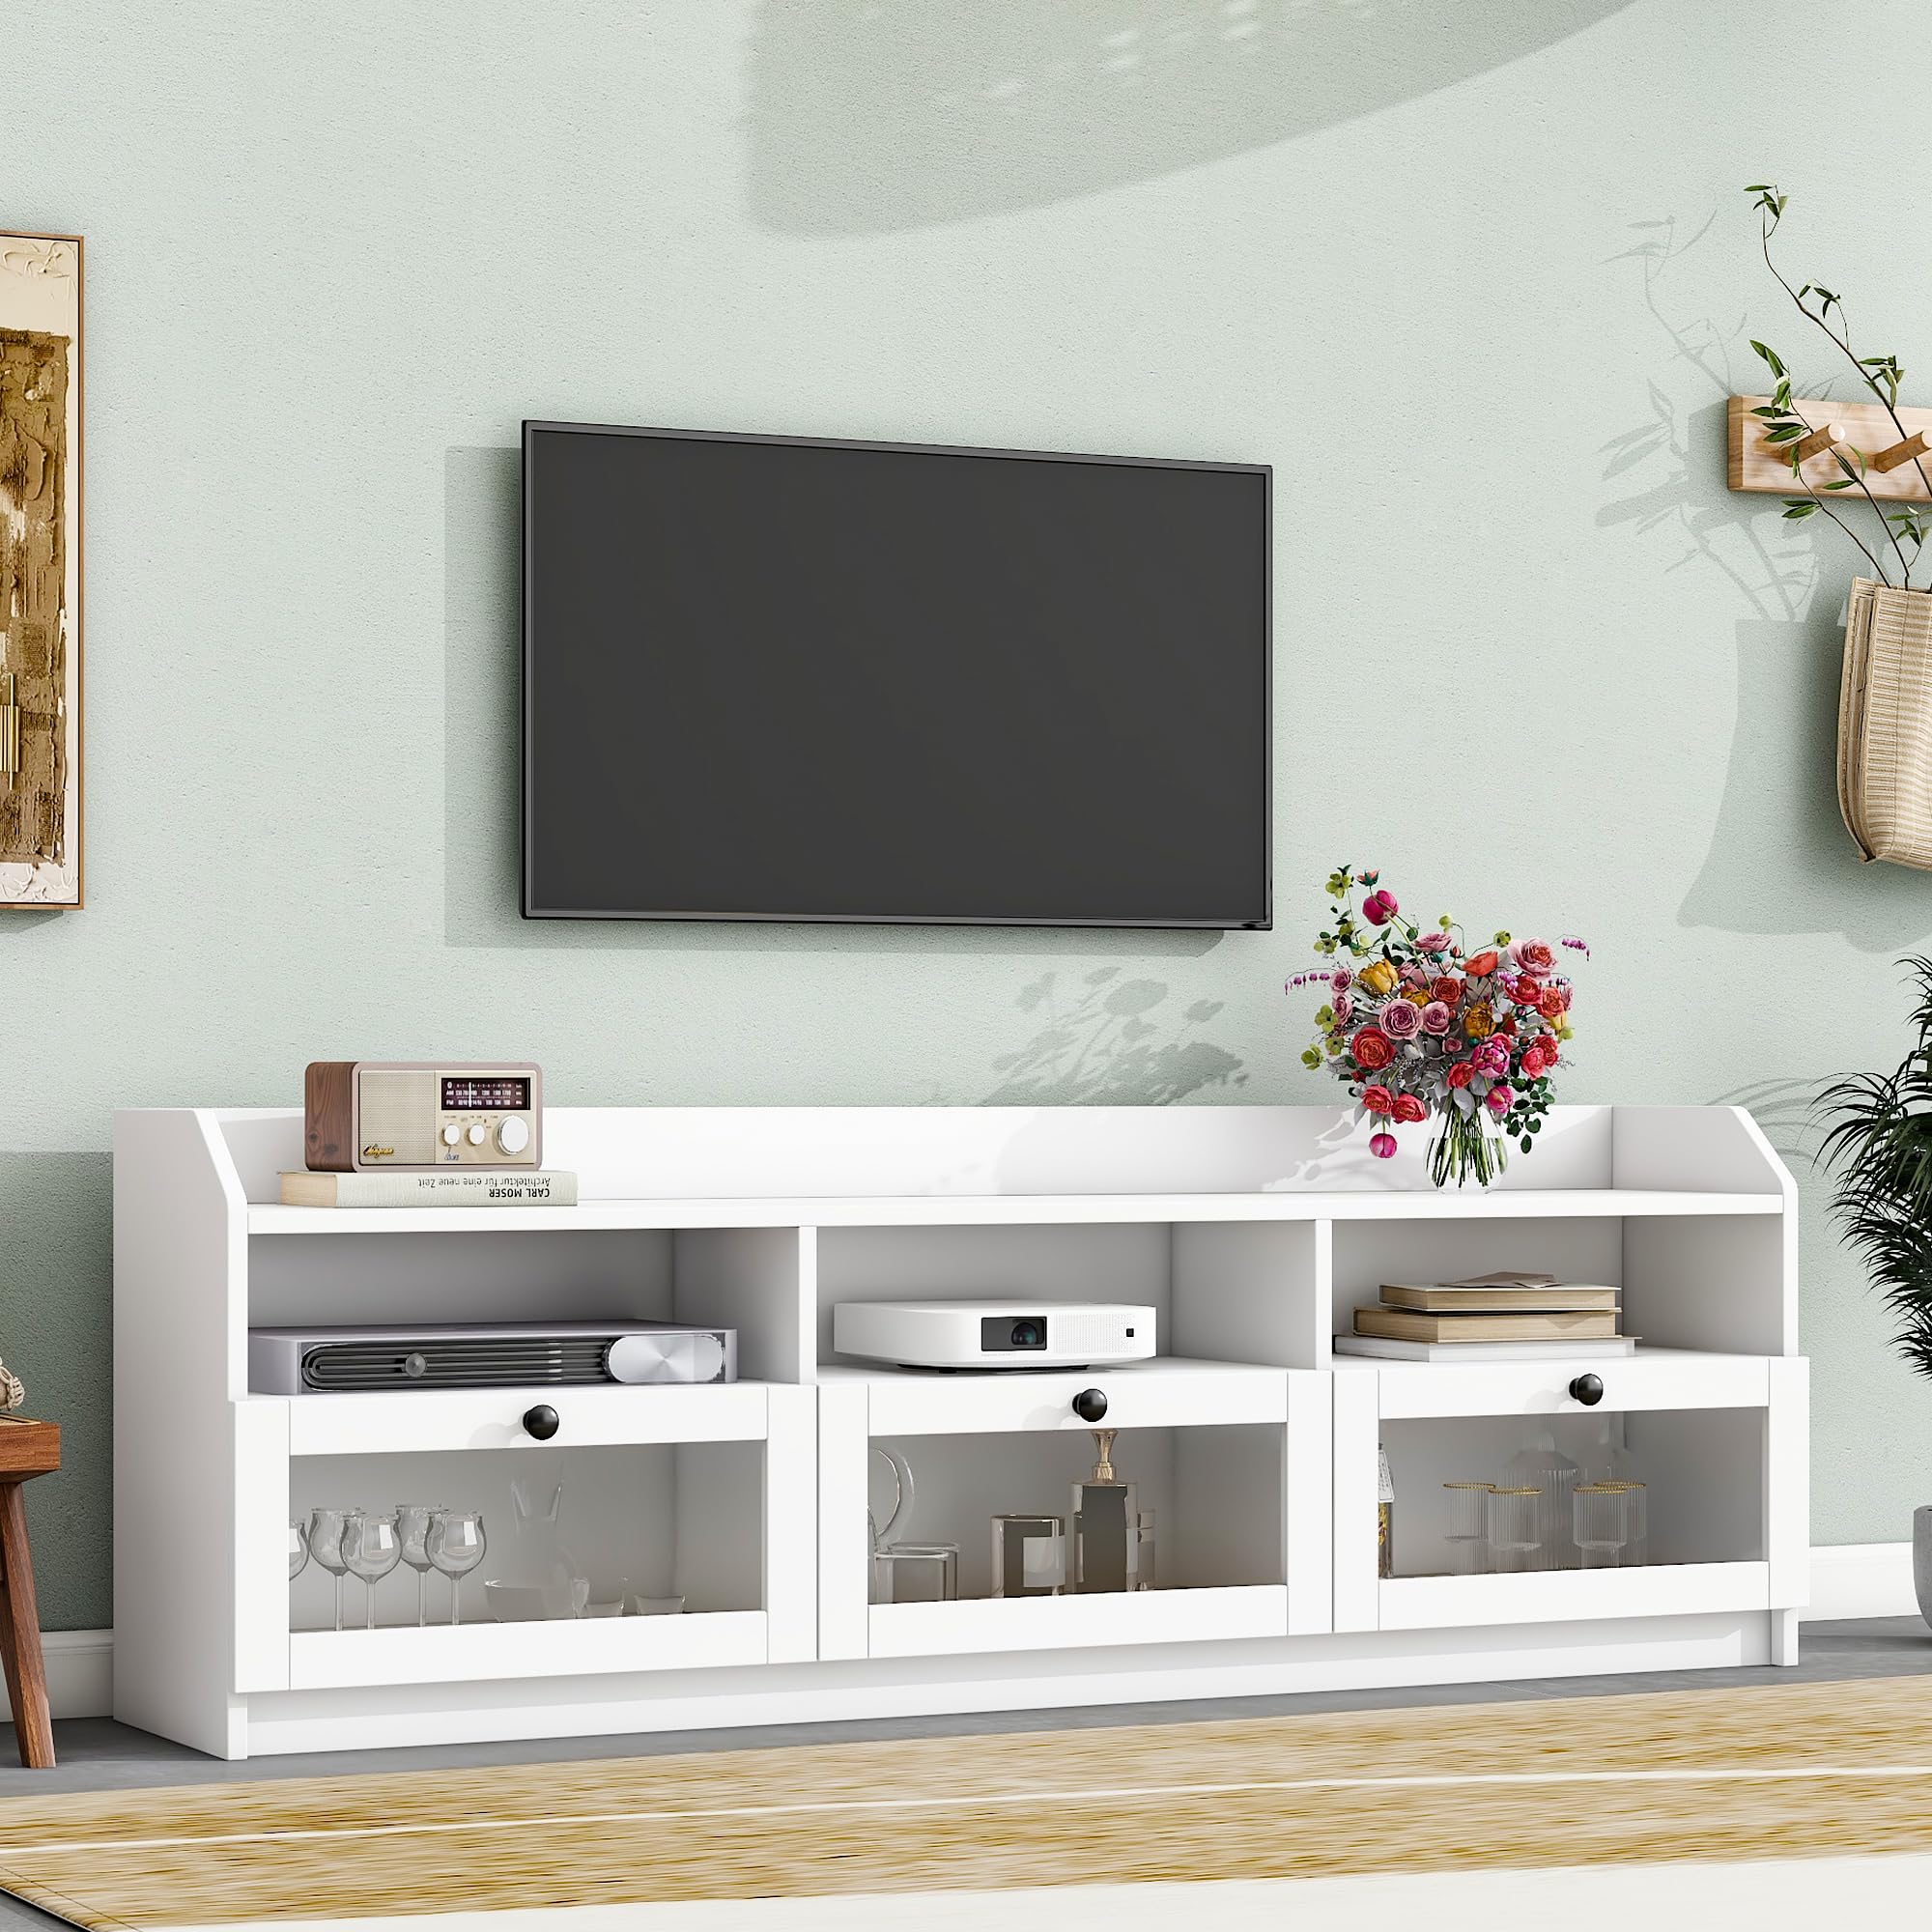
Alright, so, I’ve been wanting to revamp my living room for a while now, and the old entertainment unit was just not cutting it. It was this bulky, outdated thing that took up way too much space. I wanted something sleek, modern, and, most importantly, functional. That’s when I decided to build my own white and black entertainment unit.
First off, I measured the space where the unit would go. I mean, you gotta make sure it fits, right? Then I spent hours browsing online for inspiration. I knew I wanted a two-toned look, something with clean lines. After I had a rough idea in my head, I grabbed a pencil and paper and started sketching.
Next up, the fun part – buying the materials! I headed to the local hardware store. I decided to make most of the unit white, because it makes the room look brighter and bigger, but I wanted black drawers and a black top for some contrast.
So, with all my materials at home, I got to work. I cut the boards for the frame of the unit, then I assembled the main structure. This part took the longest, I’m not gonna lie. I assembled the main body of the unit, making sure everything was level and square. I used wood glue and screws, and let me tell you that wood glue is strong.
After the frame was built, I painted all the parts that needed to be white. It took a couple of coats to get a nice, even finish. It’s best to do thin coats than a thick one.
- Cut the boards for the frame
- Assemble the main structure
- Paint the white parts
- Build and install the black drawers
- Attach the black top
While the paint was drying, I built the drawers. I used black melamine boards for these, so I didn’t need to paint them. Once the drawers were done, I installed them in the unit. Finally, I attached the black top. For this, I used a black laminated particle board, which was pretty easy to work with.
It is finally done!
And that’s it! My new white and black entertainment unit was finished. It took a couple of weekends, but it was totally worth it. It looks so much better than the old one, and it’s exactly what I wanted. I’m pretty proud of how it turned out, to be honest. It’s not perfect, there are a few little imperfections here and there, but hey, that’s what makes it unique, right? Plus, I learned a bunch of new things along the way. Now my living room feels more modern and organized, and I have a cool piece of furniture that I built myself!
So, that’s my entertainment unit project. Hope you guys found this little story of mine somewhat interesting. Maybe it’ll even inspire you to tackle your own DIY project. It’s not as hard as you might think! Trust me, if I can do it, so can you!


