Alright, so I decided it was time to finally put up a basketball hoop in my driveway. I’ve been meaning to do it for ages, and with the weather getting nicer, I figured, why not? Plus, it’s a good excuse to get outside and shoot some hoops.
Gathering Supplies
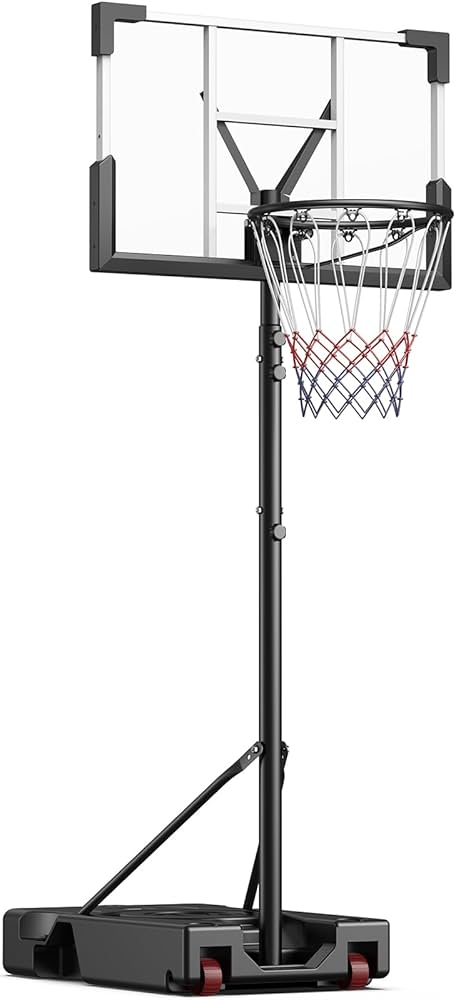
First things first, I needed to get all the stuff together. I already had a basketball, but no hoop or net. So, I made a quick trip to the local sporting goods store. I picked up a backboard, a rim, a net, and all the necessary hardware – you know, bolts, nuts, the whole nine yards. Oh, and a ladder, can’t forget that!
Preparing the Area
Back home, I cleared out the area in the driveway where I planned to put the hoop. I moved the cars out, swept the space to get rid of any debris, and marked where the backboard would go. I wanted to make sure it was at the right height and in a good spot, not too close to the house or anything.
Assembling the Backboard and Rim
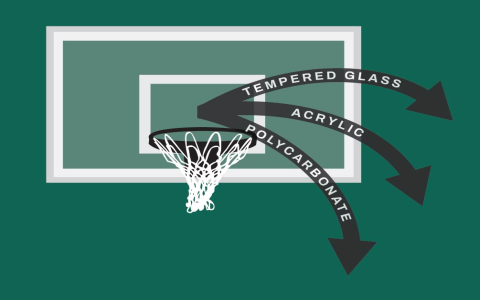
Next up, I got down to assembling the backboard and the rim. The instructions were kinda confusing, to be honest, but I managed to figure it out. I laid all the pieces out on the ground, followed the steps as best as I could, and eventually got it all together. It took a bit of elbow grease, but I got there in the end.
Attaching the Net
With the backboard and rim assembled, it was time to attach the net. This part was actually pretty easy. I just looped the net around the hooks on the rim, making sure it was secure. It was satisfying to see it all coming together.
Mounting the Hoop
Now for the tricky part – mounting the whole thing. I grabbed my ladder and carefully positioned it against the garage. I had a friend help me lift the backboard and hold it in place while I drilled it into the wall. We made sure it was level and sturdy, and then I tightened all the bolts. It was a bit of a workout, but we got it done.
Testing It Out
Finally, with the hoop securely mounted, it was time for the moment of truth. I grabbed my basketball and took a few shots. It felt great to see the ball go through the net! I spent the next hour or so just shooting around, enjoying the fruits of my labor.
Admiring My Work
All in all, it was a pretty successful project. It took a bit of time and effort, but it was totally worth it. Now I’ve got a basketball hoop right in my driveway, ready for whenever I feel like shooting some hoops. I’m pretty proud of myself, to be honest. It’s not every day you put up a basketball hoop, right?
And you know what, after I finished I even invited some of my friends over for a quick game. It was awesome, we played for like two hours. It was so much fun. I am so glad that I finally did this. It is really a great addition to my home.
So there you have it. Hope you enjoy it. See ya!


