
Hey everyone, it’s your boy back again with another little project I messed around with. This time, I wanted to make some labels for my football gear. You know, just to keep things organized and maybe look a little more pro, haha.
Getting Started
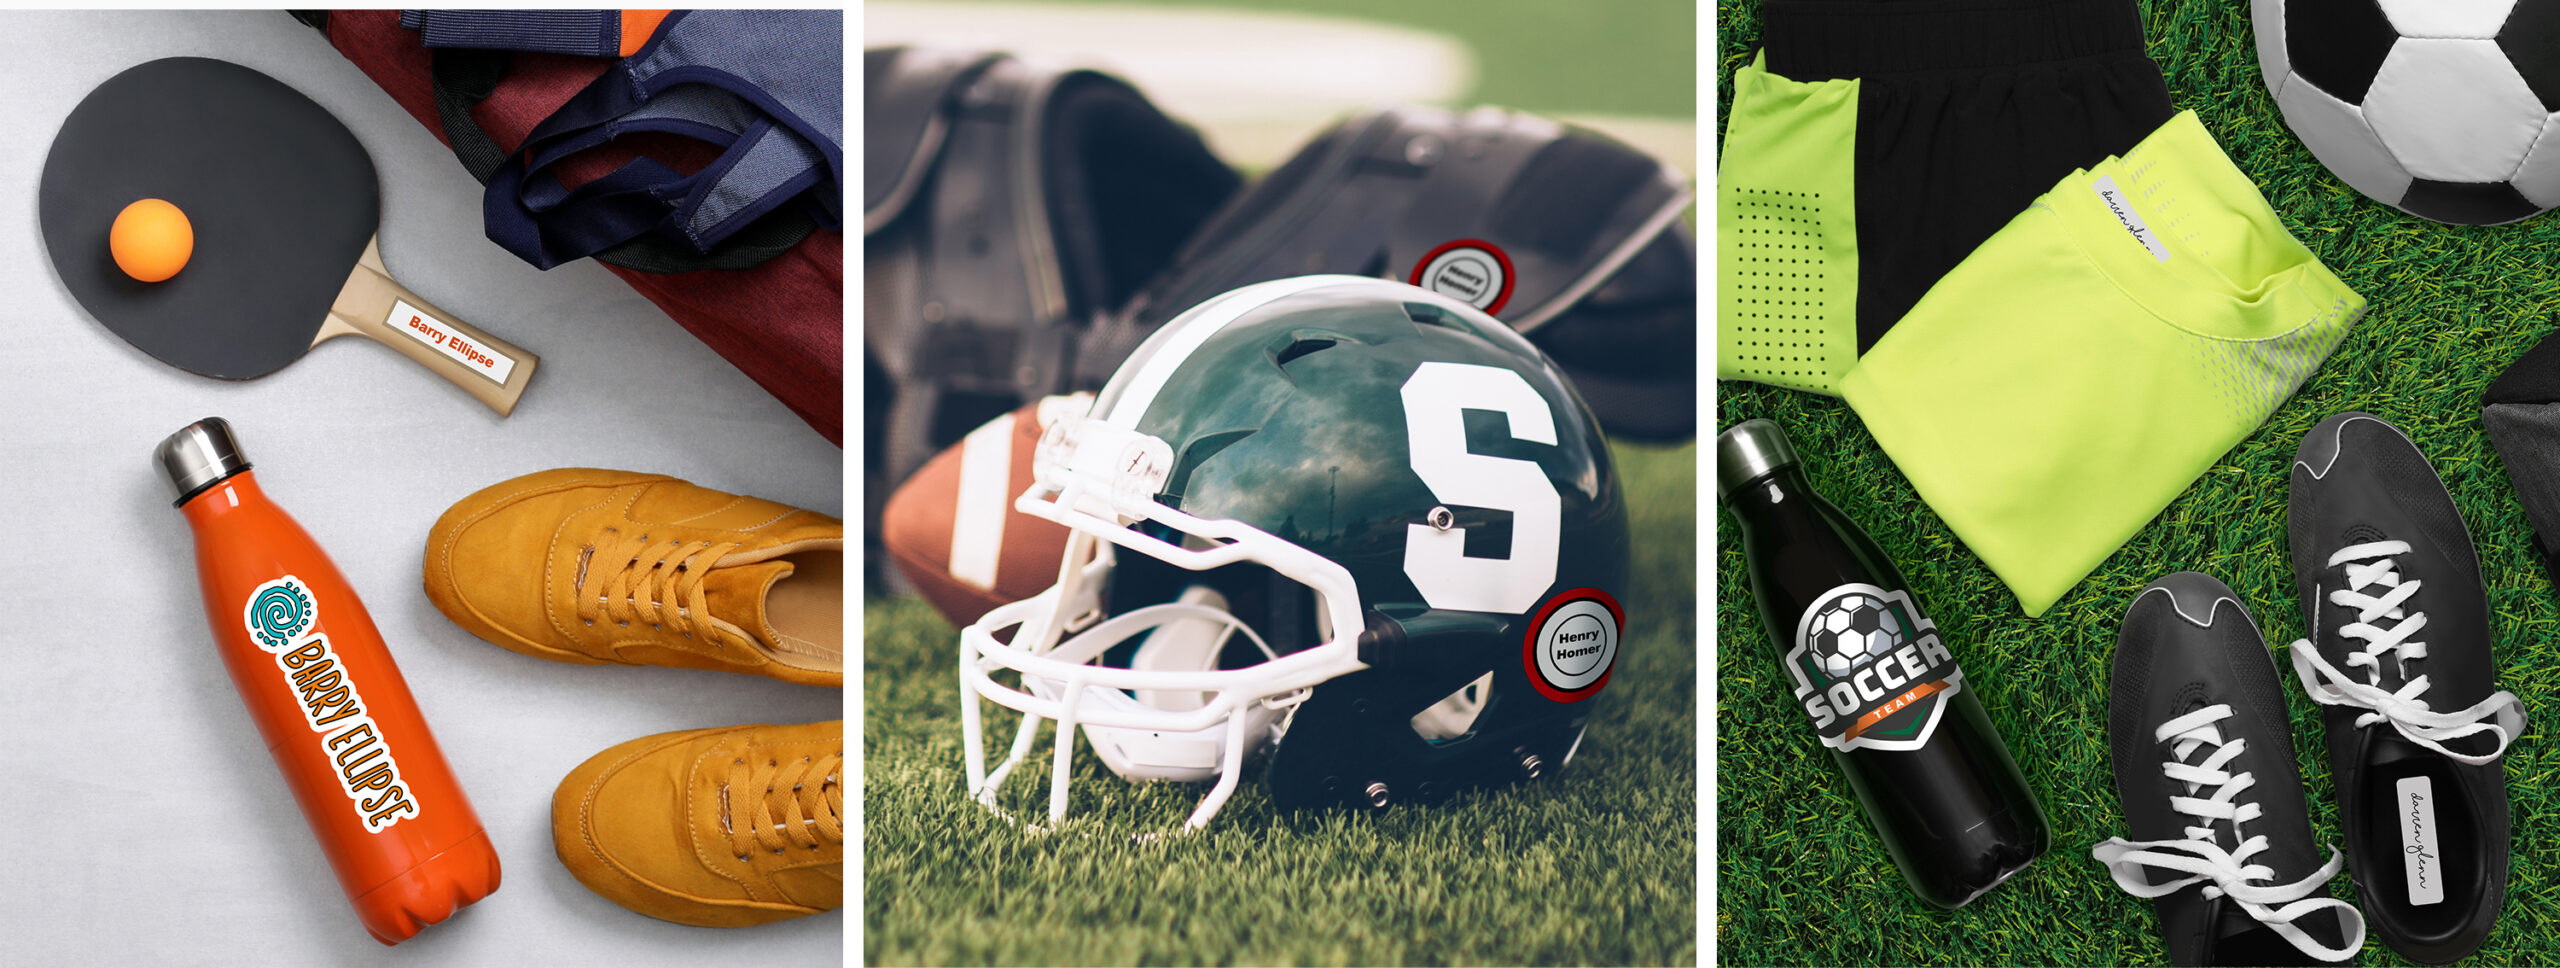
First, I gathered all my stuff. I grabbed my jerseys, shorts, socks, even my cleats. I wanted to label everything, so nothing gets mixed up, especially after those messy games.
Figuring Out the Labels
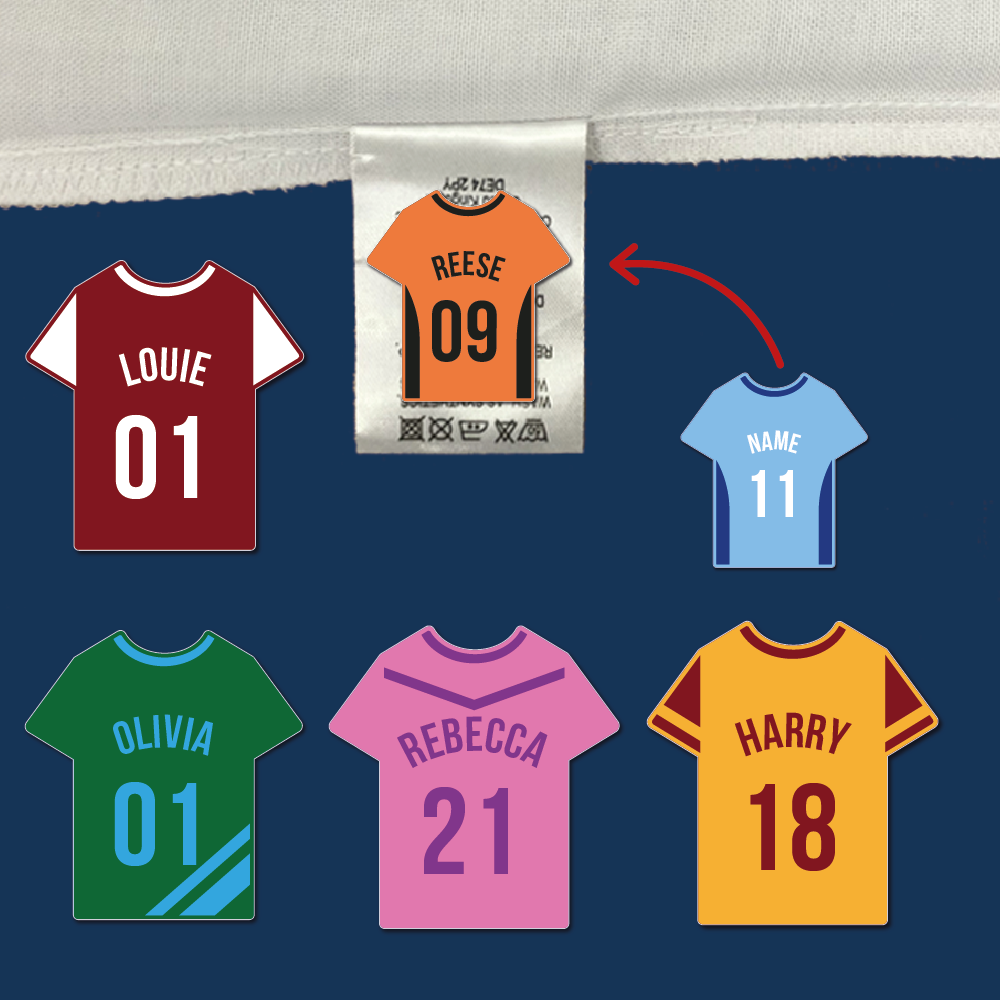
Next, I had to figure out what kind of labels to use. I thought about just writing on tape, but that’s boring and would probably fall off. I wanted something more permanent and cool-looking. So, I decided to print some custom labels. I jumped on my computer and fired up a simple design program.
- Played around with some fonts.
- Chose a bold, sporty one that’s easy to read.
- Added my name and number to each label.
- Made sure the text was big enough to see from a distance.
Printing and Applying
After I was happy with the design, I printed the labels on some special iron-on transfer paper. This was the fun part. I carefully cut out each label with scissors, trying to keep the edges neat.
Then, I followed the instructions on the transfer paper package. I laid out each piece of clothing, placed the label where I wanted it, and used a hot iron to transfer the design onto the fabric. It took some patience, making sure the iron was hot enough and pressing down evenly, but it actually worked!
The Final Touch
Once everything cooled down, I peeled off the backing paper, and boom! My custom labels were on. My gear looks way more organized now, and I won’t have to worry about losing anything. It was a pretty easy project, and I’m stoked about how it turned out. Maybe I’ll even start labeling my teammates’ stuff if they’re nice to me, haha!
Alright, that’s it for this one. Stay tuned for more random projects. Peace out!


