
Okay, here’s my experience with the “trinell entertainment center ashley” from start to finish, shared in a casual, blog-style format:
So, I finally decided to upgrade my living room situation. For ages, I’d been rocking a hand-me-down TV stand that was, let’s be honest, older than some of my friends. It was time for a grown-up solution, and after way too much online browsing, I landed on the Trinell Entertainment Center from Ashley.
The Hunt and the Purchase
First off, finding the right entertainment center was a mission. I spent hours, I mean hours, scrolling through different websites. I knew I wanted something with that rustic, farmhouse-ish vibe, and the Trinell just kept popping up. The pictures looked great – that warm brown finish, the barn door style cabinets… I was sold, at least online.
I ended up ordering online, I won’t lie, I was a little nervous about buying such a big piece of furniture without seeing it in person. But, the reviews were pretty solid, and I figured I’d take the chance.
Assembly Time!
The boxes arrived, and holy moly, there were a lot of them. And they were HEAVY. Definitely a two-person job to get them inside, or in my case, me and my very helpful neighbor. Big shout-out to him!
Unpacking everything was a bit like an archaeological dig – layers of cardboard and styrofoam, finally revealing the pieces. I laid everything out on the living room floor, making sure I had enough space to work.
The instructions… Well, let’s just say they weren’t the clearest I’ve ever seen. Lots of little diagrams, and some steps felt a bit vague. But, with a bit of patience (and a couple of YouTube searches for “how to assemble Ashley furniture”), I managed to figure it out.
- Step 1: Started with the base. Seemed logical enough. Lots of screwing and connecting pieces.
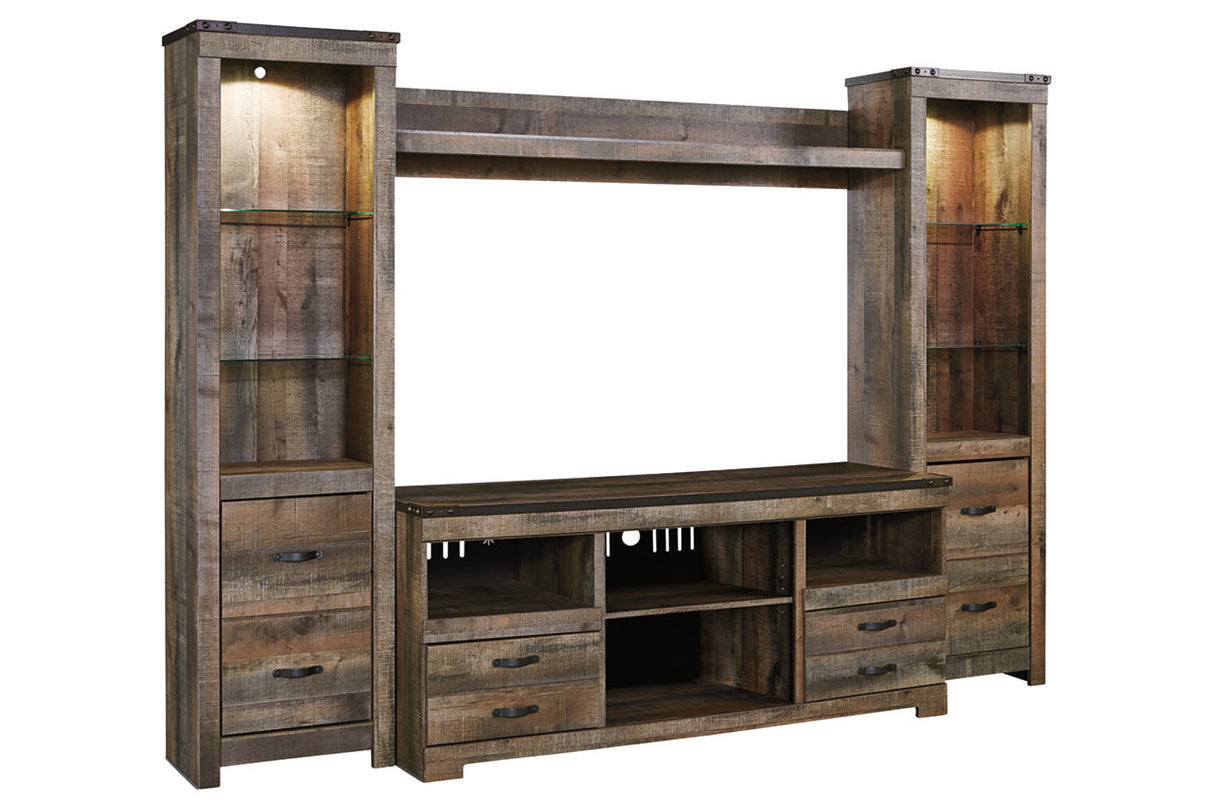
- Step 2: Built the side units. These were the cabinets with the sliding doors. The sliding mechanism was a bit fiddly, but I got there in the end.
- Step 3: Attached the top and the back panels. This is where it really started to look like an entertainment center!
- Step 4: Added the shelves and the doors. The doors were the trickiest part, getting them aligned just right so they slid smoothly.
It took me a good chunk of a Saturday, but I did it! And I have to say, it felt pretty darn good to stand back and admire my handiwork.
The Final Result
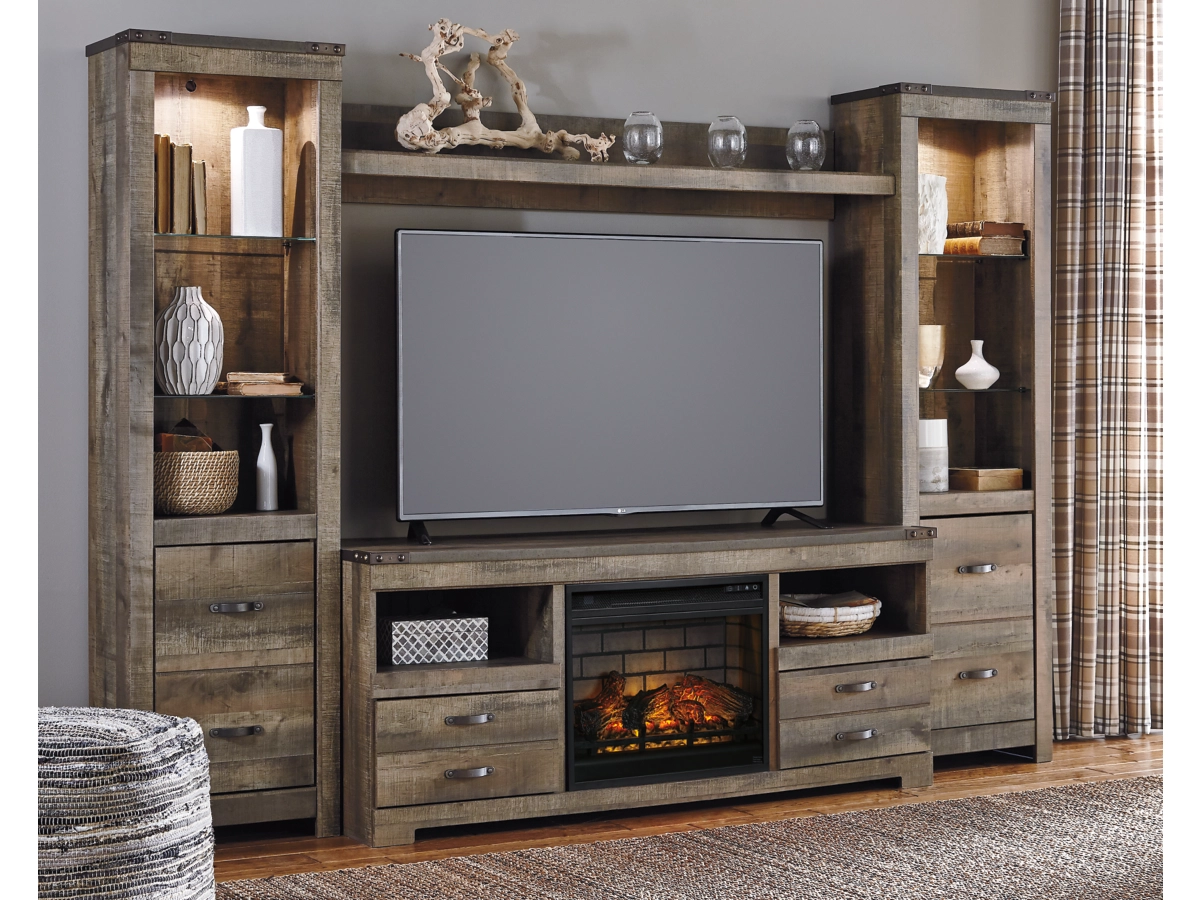
Honestly, I love it. It looks fantastic in my living room. The finish is even nicer in person than it looked online, and it feels really solid and well-made. It has tons of storage space, which is exactly what I needed. My TV fits perfectly, and I’ve got plenty of room for my game consoles, books, and a few decorative bits and pieces.
Was it a bit of a pain to assemble? Yes. Would I do it again? Absolutely. The Trinell Entertainment Center was definitely worth the effort. It’s completely transformed my living room, and I’m finally feeling like a proper adult with proper furniture.


