
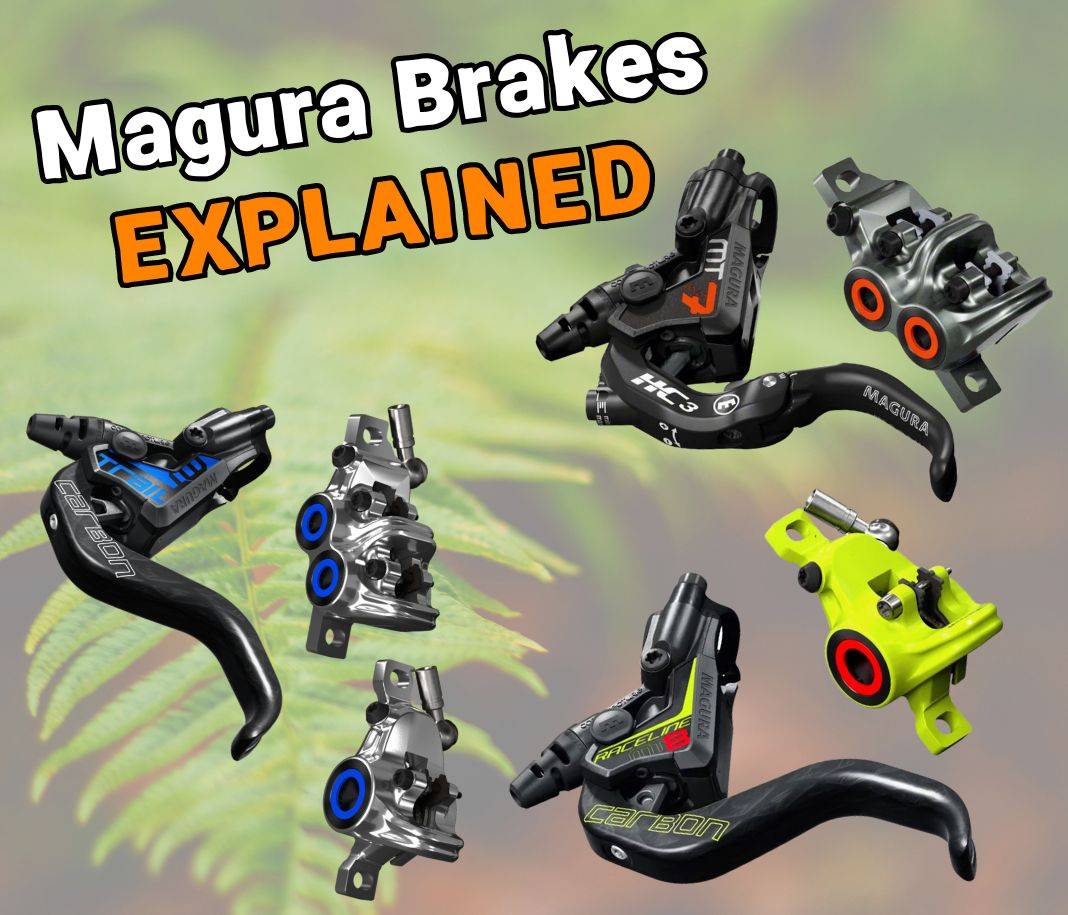
Okay, so I’ve been meaning to upgrade my mountain bike’s brakes for a while now. I finally decided to pull the trigger and picked up a set of Magura MT Sport brakes. I’d heard good things, and honestly, the price was right. Here’s how the whole installation process went down.
Getting Started
First things first, I gathered all my tools. You’ll need a few basics like:
- Allen wrenches (mainly 2.5mm, 3mm, and 4mm)
- A Torx T25 wrench
- A bleed kit (if you need to shorten the hoses or bleed the brakes)
- Some zip ties or something to secure the brake lines
- Maybe a rag to wipe up any spilled brake fluid
I unboxed the brakes and, yep, they looked pretty sweet. The levers felt solid, and the calipers seemed well-built. The set I got came with the hoses already attached and pre-bled, which was a major plus. Saved me some potential headache.
Out with the Old
Next up, I removed my old brakes. This was pretty straightforward. I just loosened the bolts holding the calipers to the frame and fork, then undid the clamps holding the levers to the handlebars. A little wiggling and everything came right off. I made sure to keep the old bolts and any adapters, just in case.
Mounting the New Brakes
Now for the fun part! I started with the calipers. I positioned them on the frame and fork mounts, making sure they were aligned properly with the rotors. Then I tightened the bolts, not super tight yet, just enough to hold them in place. There’s usually a little bit of back-and-forth to get the caliper centered perfectly over the rotor so it doesn’t rub.
Then I moved on to the levers. I slid them onto the handlebars and positioned them where they felt comfortable. I like my levers to be in a pretty neutral position, so I spent a little time adjusting the angle. Once I was happy, I tightened the clamps on the handlebars.
Hose Routing and Fine-Tuning
The hoses on the MT Sport were a bit long for my bike, but I decided to leave them for now. It’s something to do on rainy days. I used zip ties to secure the hoses to the frame, making sure they wouldn’t rub against anything or get snagged. I tried to keep everything neat and tidy.
With everything mounted, I went back and tightened all the bolts to the recommended torque. It’s important not to over-tighten, but you also don’t want anything coming loose while you’re riding! I gave the levers a few good squeezes to make sure everything felt firm and responsive.
The Test Ride
Finally, the moment of truth! I took the bike out for a quick spin around the block. The brakes felt amazing! Way more powerful and responsive than my old ones. The modulation was great, too – I could easily control the braking force without feeling like I was going to go over the handlebars. Even in a short distance, I felt the difference in power.
Final Thoughts
Overall, I’m super happy with the Magura MT Sport brakes. The installation was pretty easy, even for a somewhat-mechanically-challenged guy like me. And the performance upgrade is definitely noticeable. They feel solid, powerful, and give me a lot more confidence on the trails. If you’re looking for a good, affordable brake upgrade, I’d definitely recommend checking them out. Next time I’ll try to shorten the brake lines and bleed them!


