
Okay, folks, let’s dive into my little adventure with the “oretachi game center zoku super volleyball cover.”
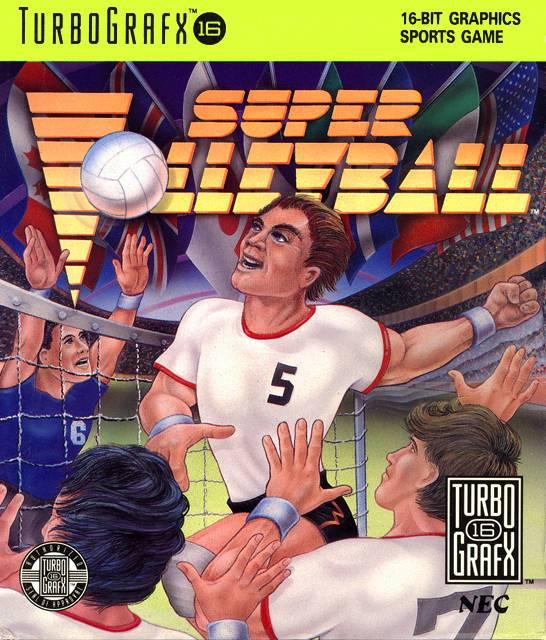
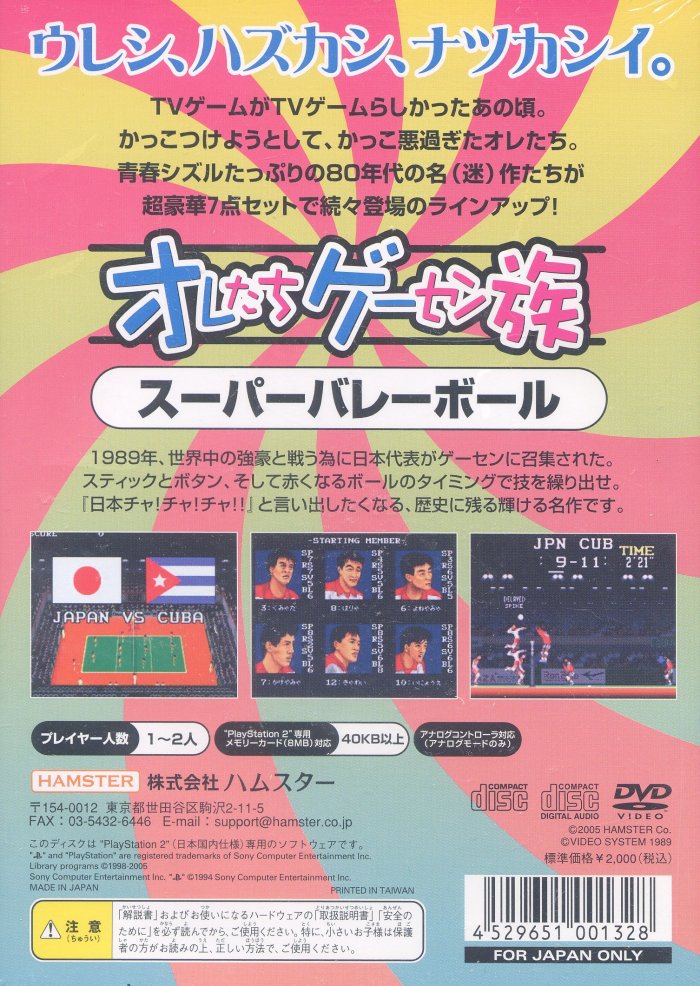
So, I found this old, beat-up arcade game, Super Volleyball, part of the “oretachi game center zoku” series. The cabinet was rough, but the real disaster was the cover art – faded, ripped, and generally sad-looking. I decided I had to do something about it.
My Restoration Journey
First, I took a bunch of pictures. High-res, different angles, the works. I needed a good reference to work from, you know?
Then, the real fun began. I fired up my trusty old scanner – it’s seen better days, but it still works! – and carefully scanned every inch of the existing cover. This took a while because I wanted to get it as clean and crisp as possible, even with all the damage.
Next, I opened the scanned images in my image editing software. This is where the magic (and a lot of patience) comes in. I started by cleaning up the big stuff – tears, stains, and those weird discolored spots. It was like digital surgery, painstakingly patching things up.
- I used the clone stamp tool a lot to copy bits of undamaged art over the damaged areas.
- I spent hours tweaking colors, trying to match the original vibrancy that had faded over time.
- I even had to redraw some parts where the damage was too severe. That was tough, but I think I did a pretty good job!
After what felt like forever, I finally had a restored digital version of the cover. It wasn’t perfect, but it was a million times better than what I started with.
Then came the printing. I found a local print shop that could do high-quality prints on the right kind of material. I made sure to double-check the dimensions and everything to get it just right.
Finally, I carefully applied the new cover to the arcade cabinet. I used some adhesive spray and a lot of care to avoid any bubbles or wrinkles. And… bam! It looked awesome.
It was super satisfy that I made it!
It’s not a museum-quality restoration, but I’m pretty proud of it. It brought a little piece of gaming history back to life, and that’s what matters. Plus, it looks way better in my game room now!


